


[ad_1]
Android Automotive OS is getting more recognition as automotive companies are looking to provide their customers with a more tailored experience. Here we share our guide to building the first app for AAOS.
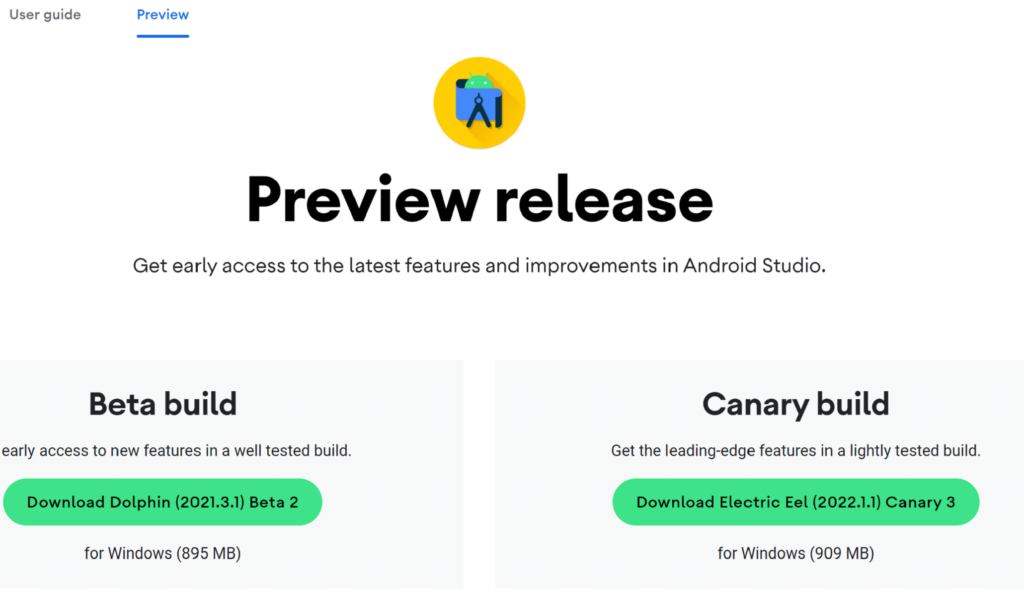
Before you start, read our first article about AAOS and get to know our review to be aware of what to expect. Let’s try making a simple Hello World app for android automotive. To get an IDE, go to Android Studio Preview | Android Developers and get a canary build:
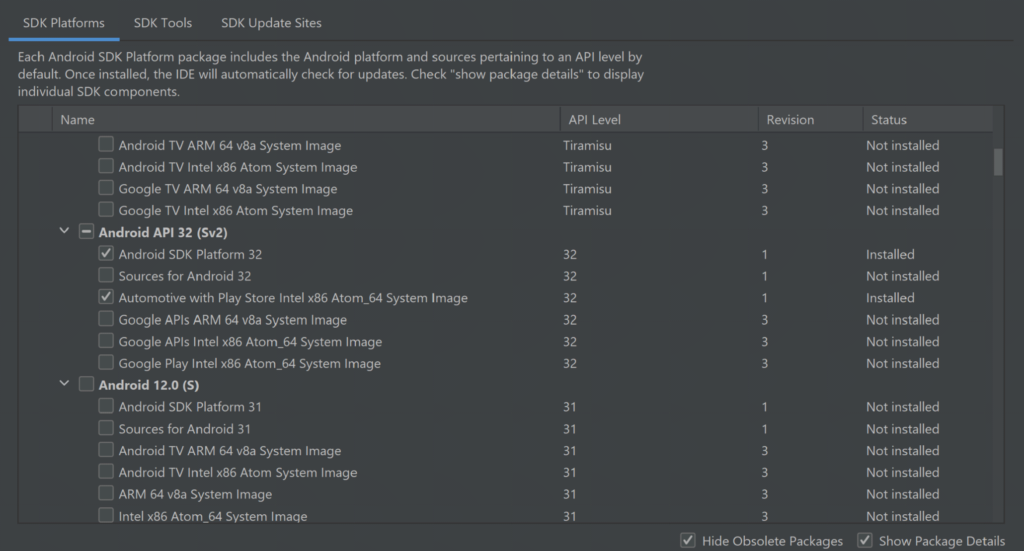
In the next step, prepare SDK, check and download the Automotive system image in SDK manager. You can get any from api32, Android 9, or Android 10, but I do not recommend the newest one as it is very laggy and crashes a lot right now. There are also Volvo and Polestar images.
For those you need to add links to SDK Update Sites:
https://developer.volvocars.com/sdk/volvo-sys-img.xml
https://developer.polestar.com/sdk/polestar2-sys-img.xml
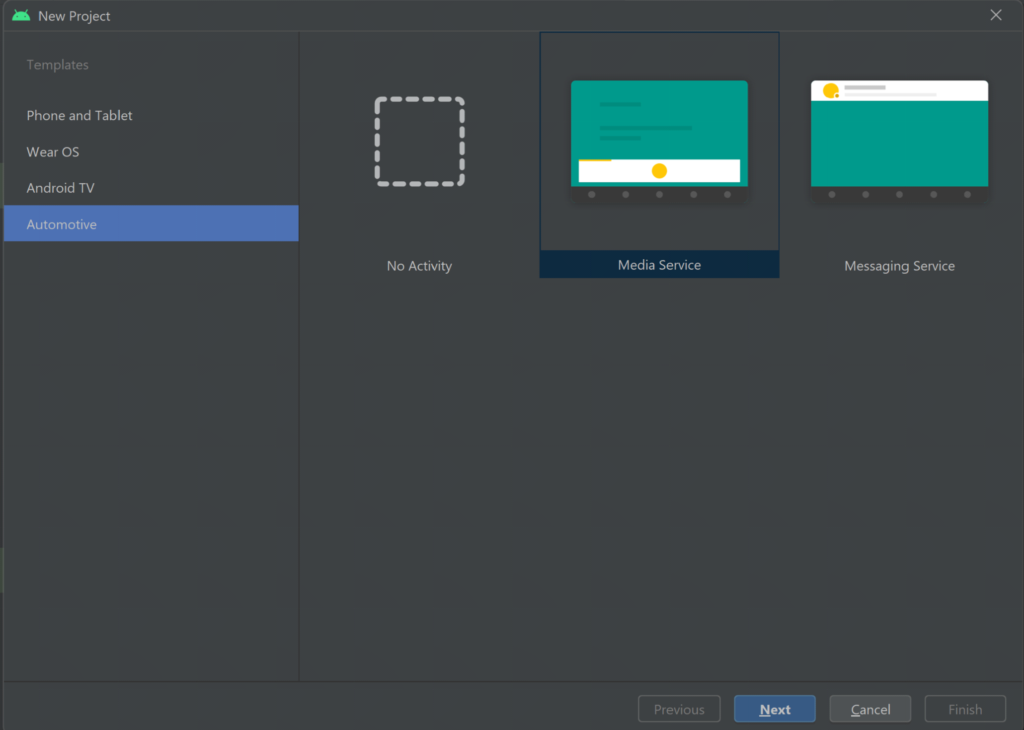
Start a new project, go to File> New Project and choose automotive with no activity
A nice and clean project should be created, without any classes: Go to build.gradle and add the car app library into dependencies, refresh the project to make it get
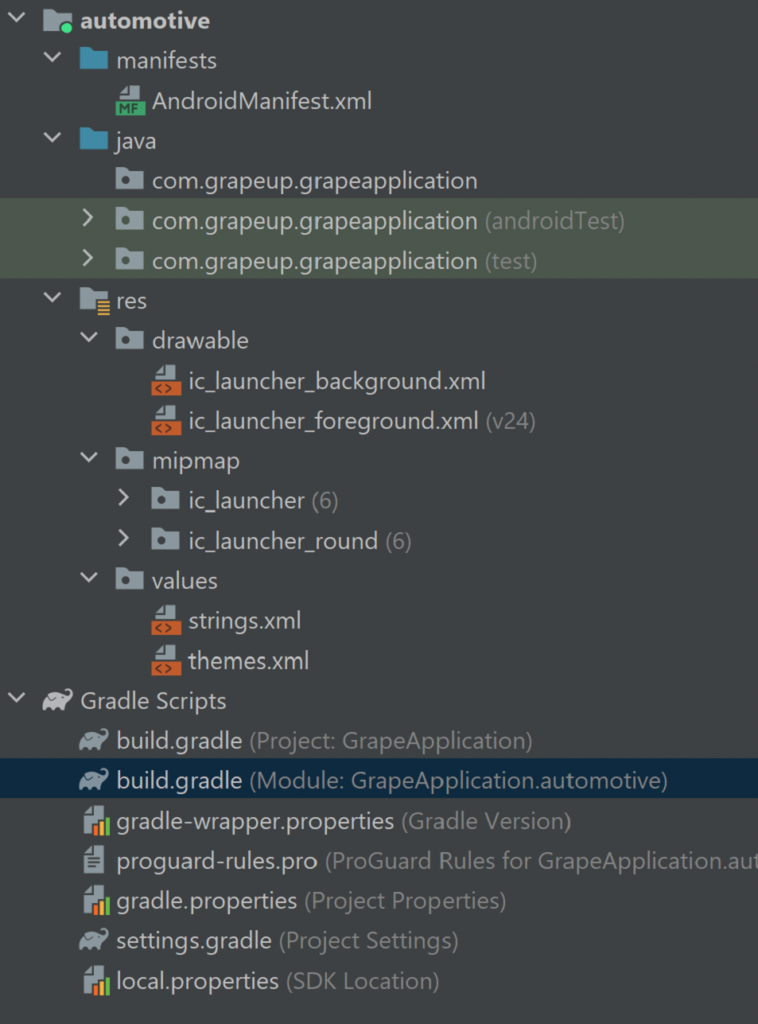
our new dependency:
implementation "androidx.car.app:app-automotive:1.2.0-rc01"
Let’s write some code, first our screen class. Name it as you want and make it extend Screen class from android.car.app package and make it implement required methods:
public class GrapeAppScreen extends Screen

   public GrapeAppScreen(@NonNull CarContext carContext)
       super(carContext);


   @NonNull
   @Override
   public Template onGetTemplate()
       Row row = new Row.Builder()
.setTitle("Thats our Grape App!").build();

       return new PaneTemplate.Builder(
               new Pane.Builder()
                       .addRow(row)
                       .build()
       ).setHeaderAction(Action.APP_ICON).build();
That should create a simple screen with our icon and title, now create another class extending CarAppService from the same package and as well make it implement the required methods. From createHostValidator() method return a static one that allows all hostnames for the purpose of this tutorial and return brand new session with our screen in onCreateSession(), pass CarContext using Session class getCarContext() method:
public class GrapeAppService extends CarAppService

   public GrapeAppService()

   @NonNull
   @Override
   public HostValidator createHostValidator()
       return HostValidator.ALLOW_ALL_HOSTS_VALIDATOR;


   @NonNull
@Override
public Session onCreateSession()
   return new Session()
       @Override
       @NonNull
       public Screen onCreateScreen(@Nullable Intent intent)
           return new GrapeAppScreen(getCarContext());

   ;
Next, move to AndroidManifest and add various features inside the main manifest tag:
<uses-feature
   android:name="android.hardware.type.automotive"
   android:required="true" />
<uses-feature
   android:name="android.software.car.templates_host"
   android:required="true" />
<uses-feature
   android:name="android.hardware.wifi"
   android:required="false" />
<uses-feature
   android:name="android.hardware.screen.portrait"
   android:required="false" />
<uses-feature
   android:name="android.hardware.screen.landscape"
   android:required="false" />
Inside the Application tag add our service and activity, don’t forget minCarApiLevel as lack of this will throw an exception on app start:
<application
   android:allowBackup="true"
   android:appCategory="audio"
   android:icon="@mipmap/ic_launcher"
   android:label="@string/app_name"
   android:roundIcon="@mipmap/ic_launcher_round"
   android:supportsRtl="true"
   android:theme="@style/Theme.GrapeApplication">

<meta-data android:name="androidx.car.app.minCarApiLevel"
   android:value="1"
/>

   <service
       android:name="com.grapeup.grapeapplication.GrapeAppService"
       android:exported="true">
       <intent-filter>
           <action android:name="androidx.car.app.CarAppService" />
       </intent-filter>
   </service>

   <activity
       android:name="androidx.car.app.activity.CarAppActivity"
       android:exported="true"
       android:label="GrapeApp Starter"
       android:launchMode="singleTask"
       android:theme="@android:style/Theme.DeviceDefault.NoActionBar">

       <intent-filter>
           <action android:name="android.intent.action.MAIN" />
           <category android:name="android.intent.category.LAUNCHER" />
       </intent-filter>
       <meta-data
           android:name="distractionOptimized"
           android:value="true" />
   </activity>
</application>
Now we can upload our application to the device, verify that you have an automotive emulator created, use automotive configuration, and hit run. The app is run in Google Automotive App Host, so if it is your first application on this device, it may require you to get to the play store and get it.

That’s how it looks:
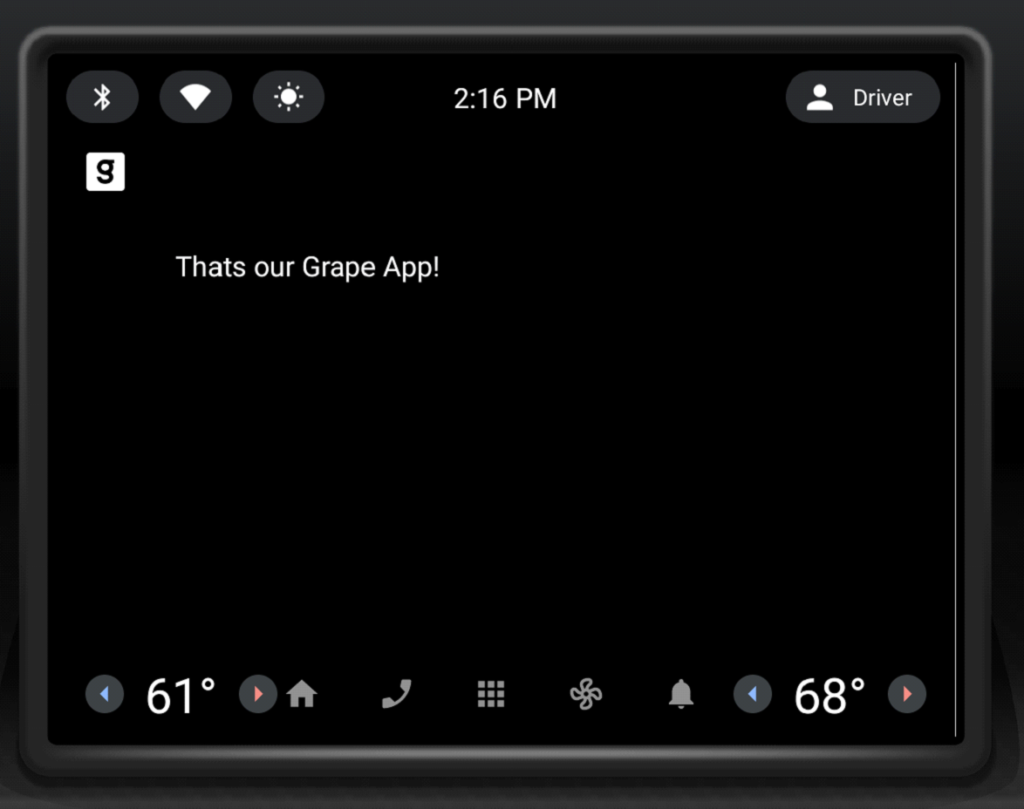
The last thing, we’ll add a navigation button that will pop a Toast. Modify onGetTemplate() in Screen class, add Action and ActionStrip:
Action action = new Action.Builder()
       .setOnClickListener(
               () -> CarToast.makeText(getCarContext(), "Hello!", CarToast.LENGTH_SHORT).show())
       .setTitle("Say hi!")
       .build();

ActionStrip actionStrip = new
Add it to PaneTemplate:
return new PaneTemplate.Builder(
       new Pane.Builder()
               .addRow(row)
               .build()
)       .setActionStrip(actionStrip)
       .setHeaderAction(Action.APP_ICON)
       .build();
That’s our HelloWorld app:
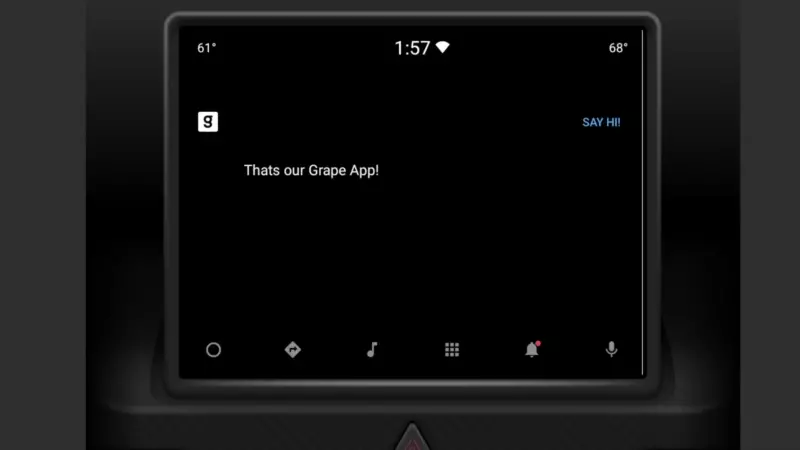
Now you have the HelloWorld example app up and running using Car App Library. It takes care of displaying and arranging everything on the screen for us. The only responsibility is to add screens and actions we would like to have(and a bit of configuration). Check the Car app library to explore more of what can be done with it, play around with creating your app, and definitely check our blog soon for more AAOS app creation content.

[ad_2]
Source link


More Stories
Top 5 Best Power Bank Portable Chargers in 2018 Reviews
Rad Power Bikes CEO Mike Radenbaugh replaced by former Sony leader Phil Molyneux – GeekWire
How To Keep Your Smart Home Online When You Lose Power